Quick Start Guide
Welcome to Calendar Boost, your all-in-one appointment scheduling solution! This comprehensive guide is designed to help both new users and those who are just starting to use the app get up and running quickly.
For New Users, currently exploring Calendar Boost:
1. Sign Up and Log In:
- Start by visiting Calendar Boost and signing up for a new account.
- After registration, Calendar Boost will automatically log you into your account.
2. Set Up Your Profile:
- Upon logging in for the first time, complete your profile information.
- Navigate to Settings to customize your business details, including your business name, logo, working hours, and contact information.
3. Configure Services:
- In the Services section, create the various services you offer to your clients.
- Add service details such as name, duration, price, description, and any additional extras or add-ons.
4. Add Employees:
- Head to Employees to add your staff members to Calendar Boost.
- Assign specific services to each employee based on their expertise and availability.
5. Customize Your Booking Page:
- The Booking Page is where your clients will schedule their appointments.
- Personalize your online booking page by choosing colors, uploading images, and setting up booking rules and policies through the Customize section.
6. Front-End Booking for Clients:
- Clients can now visit your customized booking page to easily schedule appointments.
- They select their desired service, preferred employee, and convenient date and time for the appointment.
7. Back-End Booking for Admins/Employees:
- As an admin or employee, you can create appointments from the back end.
- Navigate to the Appointments or Calendar section and click on “+ Add Appointment” to fill in the necessary details.
For Existing Users (Just Started Using the App):
1. Review Your Setup:
- Log in to your Calendar Boost account to review your existing setup.
- Ensure your profile details, services, and employee assignments are accurate and up to date.
2. Manage Appointments:
- Utilize the Appointments section to efficiently manage all your scheduled appointments.
- Easily view, edit, and delete appointments as needed.
- Utilize filters and search options to quickly find specific appointments.
3. Group Appointments:
- Enable the Group Booking feature for services that allow multiple customers per appointment.
- The “+X” indicator next to a customer’s name shows the number of additional customers in a group appointment.
- For services allowing customers to bring guests, view the total number in the appointment details.
4. Advanced Features:
- Explore additional features such as custom fields, discount coupons, and recurring appointments.
- Use the “Three Dots” menu within appointments to access options like editing, duplicating, viewing activity logs, or deleting appointments.
5. User Roles and Permissions:
- Understand the different user roles in Calendar Boost: Admin, Superadmin, and Employee.
- Admins and superadmins have full access to appointments, services, and customer data.
- Employees can only view and manage appointments assigned to them, ensuring privacy and organization.
6. Exporting Data:
- Export your appointment data for record-keeping or analysis.
- Select Export Data to choose the desired delimiter and columns for the exported CSV file.
- Appointments will be exported based on the selected date range.
7. Custom Roles (Optional):
- For advanced control over user permissions, create custom roles in Settings -> Users & Roles.
- Customize roles to grant specific capabilities, such as viewing all appointments, employees, customers, services, and locations.
8. Support and Help:
- For any questions or assistance, Calendar Boost offers a comprehensive Help Center.
- Reach out to Calendar Boost’s dedicated support team for personalized support and prompt assistance.
Congratulations! Whether you’re a new user just getting started or an existing user exploring more features, you are now equipped to streamline your appointment-scheduling process with Calendar Boost. Explore the diverse features, tailor settings to your preferences, and provide your clients with a seamless booking experience. Experience the efficiency and convenience Calendar Boost brings to managing appointments for your business.
Sign Up
Welcome to Calendar Boost! This guide will walk you through the process of signing up for a free account. Follow the simple steps below to create your Calendar Boost account and get started with managing your appointments and services.
To begin, click on the “Get started” button located on Calendar Boost’s homepage. This will redirect you to the sign-up process, where you’ll enter your details and set a password for your new account.
Embark on your Calendar Boost journey with our sign-up process, allowing you to experience Calendar Boost’s full capabilities before choosing the perfect plan for your needs.
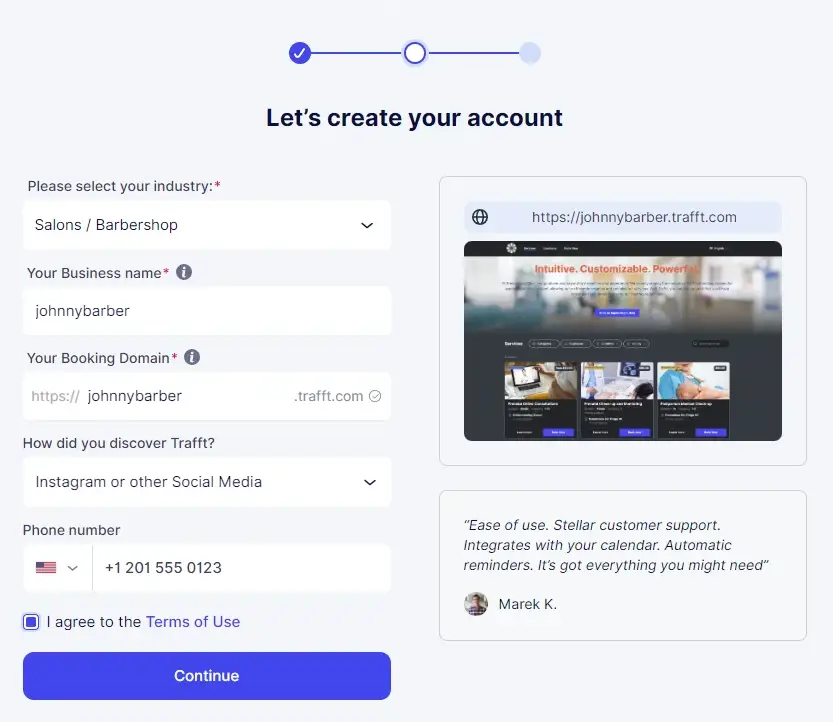
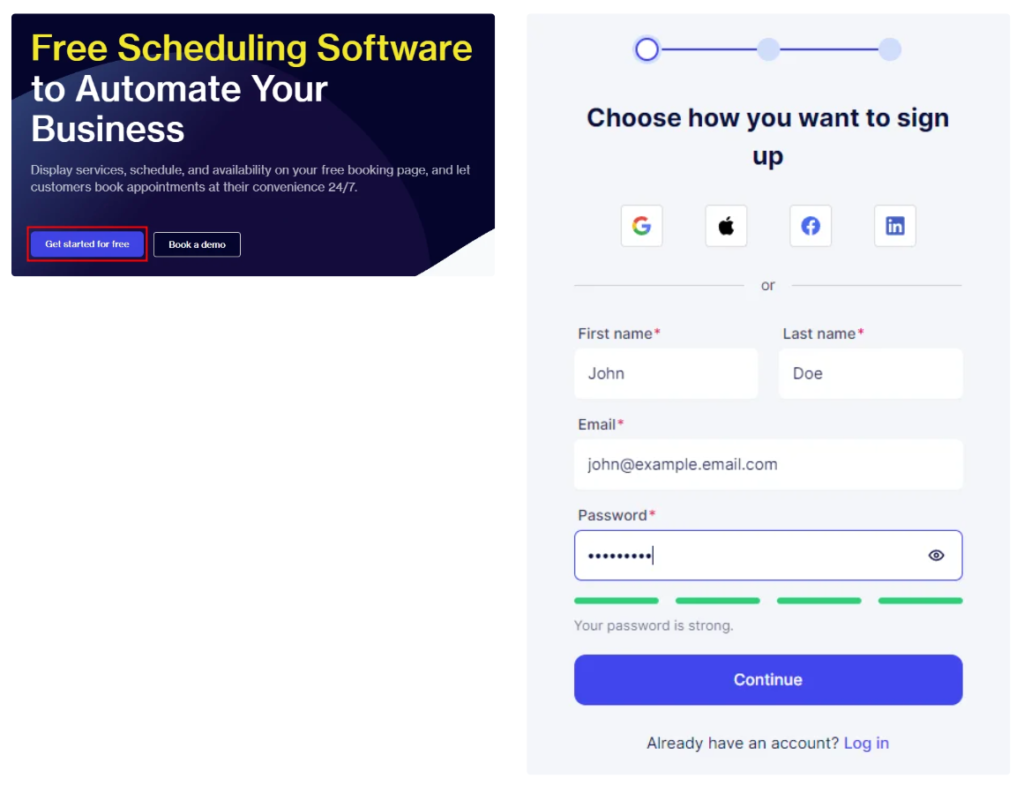 After entering your details, you’ll proceed to a page where you’ll make a few selections for your business. Calendar Boost will then generate some sample data on your account, allowing you to begin using the app right away.
Start by choosing your industry category, such as salons, training, consulting, or healthcare, or you can select “Other” for a custom category. Next, input your company name and define your Booking Website’s URL.
The final step is selecting the theme for your booking website, which you can always change later to best suit your business’s style and branding.
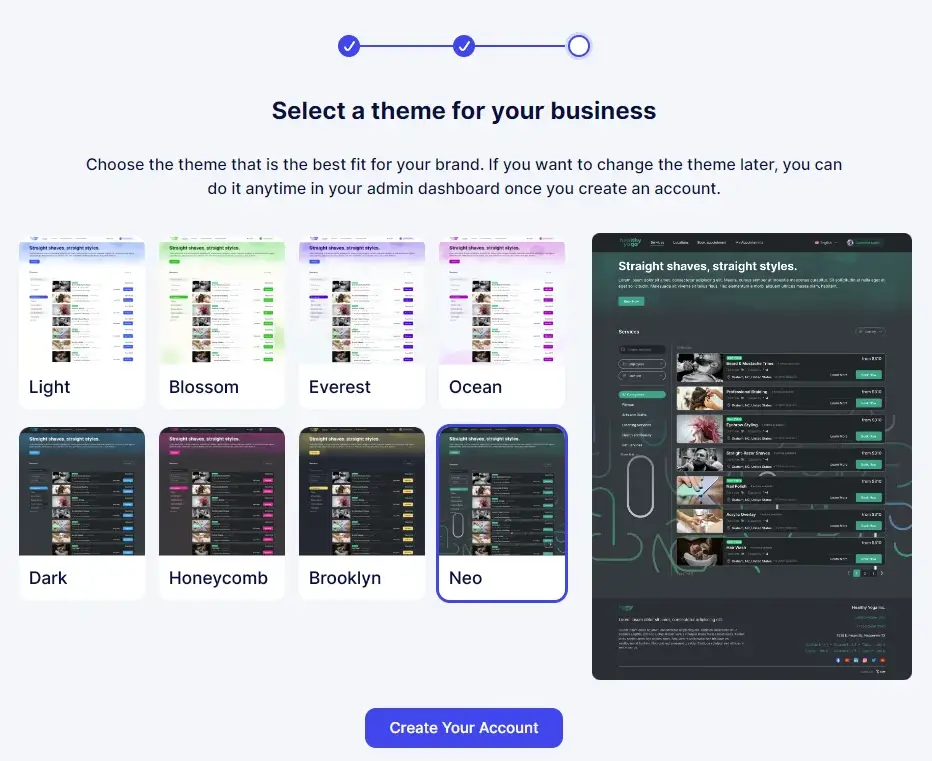
After making these selections, click on “Create Your Account” at the bottom of the page, and you’re all set to begin using Calendar Boost!
Our Onboarding Process
After completing the signup process, you’ll land on your Calendar section where you’ll find a short, informative welcome video that explains key features in under 2 minutes. Clicking “Continue” closes the video, allowing you to navigate the admin section.
We prioritize security to maintain a safe environment for all users. To prevent misuse by spammers, Email and SMS notifications require email verification. Please check your inbox and complete the verification process to enable notifications and fully utilize the app.
Once your email address is verified, you can continue exploring Calendar Boost. We’ve provided some sample Employees, Services, and Appointments so you can immediately view Calendar Boost’s Booking Website by clicking on the Booking Website button in the top left.
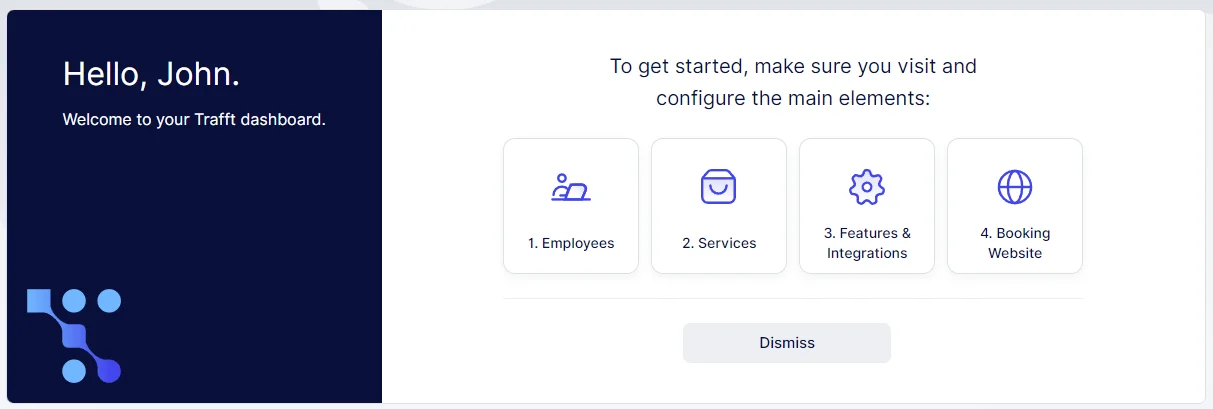
The Dashboard page features links to the core components of Calendar Boost, including Employees, Services, Features & Integrations, and the Booking Website. These links are helpful for new users to navigate the app. While you have the option to permanently hide them by clicking “Dismiss,” we suggest exploring these links to become acquainted with Calendar Boost’s functionalities.
Log into Calendar Boost
To log in to your existing Calendar Boost account, visit Calendar Boost and click on the “Log In” button at the top right. You’ll then be prompted to enter your email and password. After entering your password, click “Continue” to access your Calendar Boost account.
Depending on how you signed up, you’ll have the option to use the social login (Gmail, Facebook, LinkedIn, or Apple) or enter the email and the password you configured when you registered for Calendar Boost.
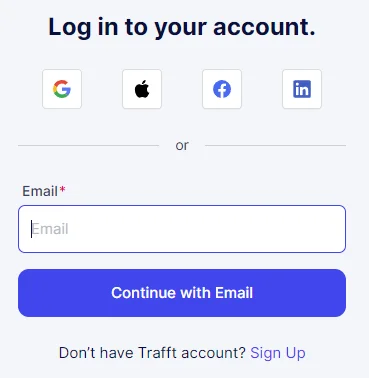
Logging in through this page works for all users (admins, superadmins, and employees) but not your customers. If you allow only registered users or a combination of registered or guest users through your Customize section, registered users will need to visit the booking website and log in there.
Forgot password
If you can’t remember your password, don’t worry. Click on the “Get Help” option next to “Forgot your password?” and enter the email you used to create your Calendar Boost account. Click “Reset”.
Since the email is automatically checked when you enter it in the previous step, you’ll already know whether the email you’ve entered is correct or not but please take care if you have multiple accounts and emails. Once the “Reset” button is clicked, we will send you an email with a link to set up a new password. Once you have the new password, you can use it along with your email to access your admin dashboard.
Account Settings
When you log into your Calendar Boost account as an admin and click on your name or picture in the top right corner, you’ll see the following options:
- Account Settings
- Billing
- Refer a Friend
- Log out
The options available in the screenshot above vary based on the user role of the person logging into Calendar Boost. Similarly, the options that appear when you click on Account Settings may vary:
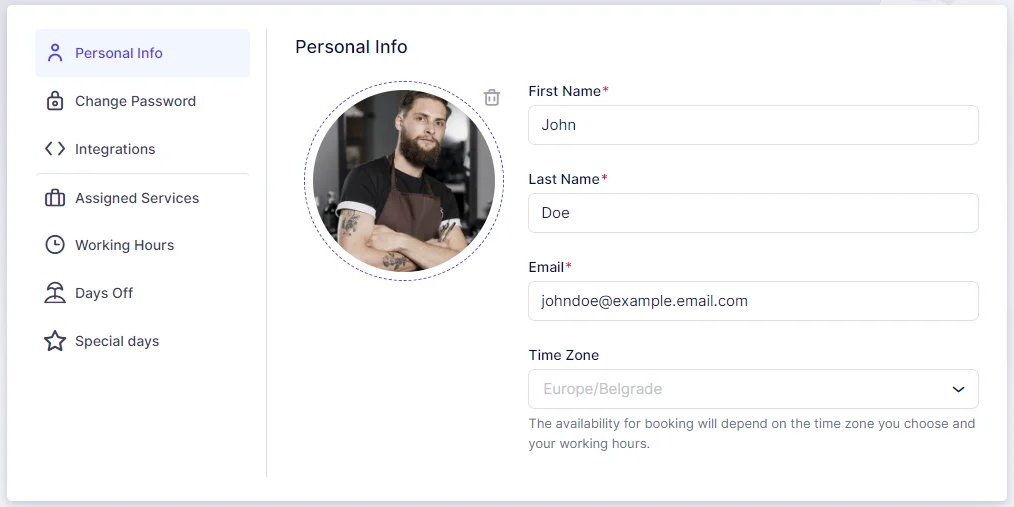
Personal Info (available to all users)
In this section, you can modify your First Name, Last Name, Email, and Time Zone. Additionally, you can upload your profile picture by clicking on the photo field or dragging and dropping a photo into the designated area. After making any changes in the Personal Info settings, be sure to click “Save Changes” at the bottom of the screen.
Change Password (available to all users)
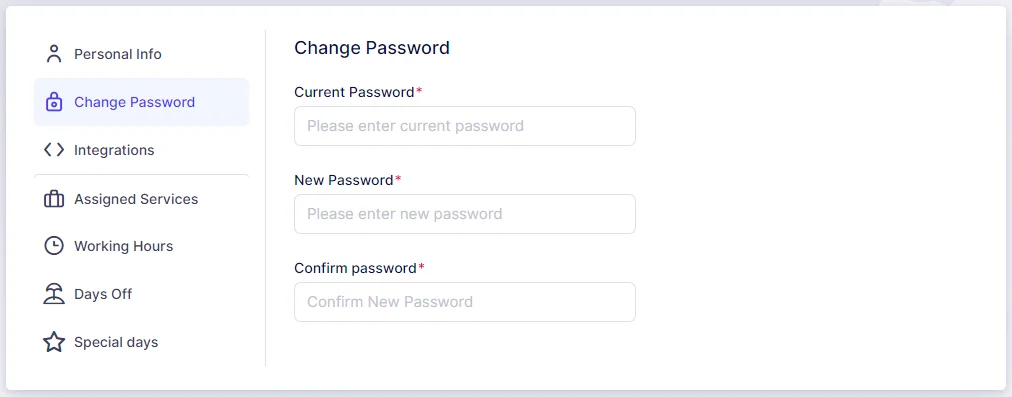
In this section, you can update the password you initially set during sign-up. To do so, enter your current password, followed by your new password, and then confirm the new password by entering it again.
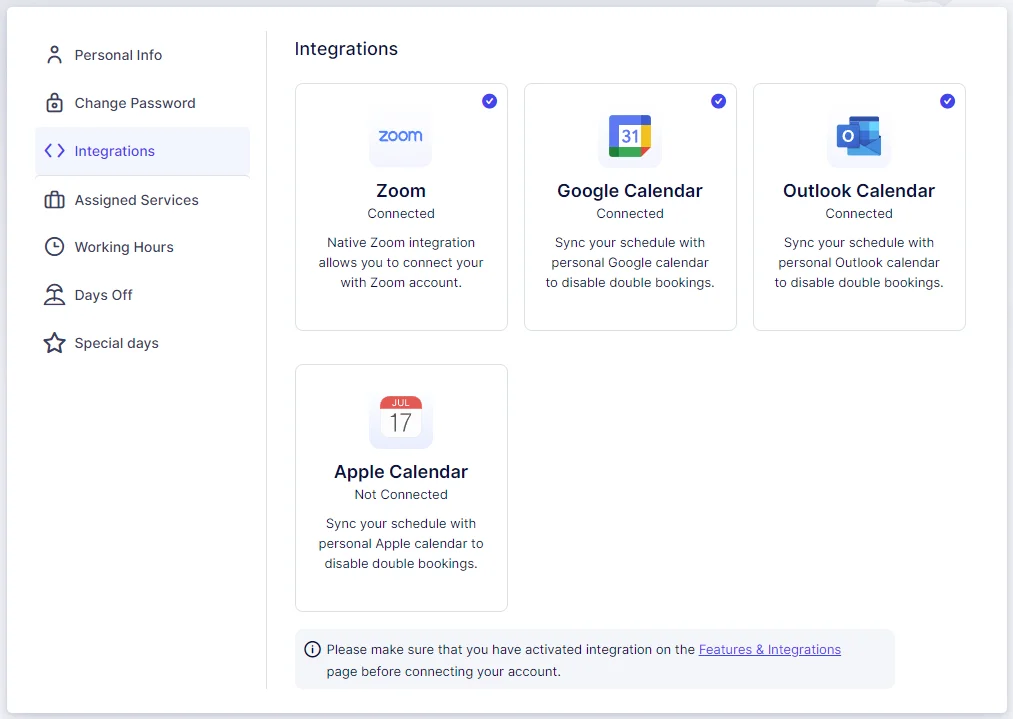
Integrations (available to all users)
In this section, you can connect your own Zoom, Google Calendar, Apple Calendar, and Outlook Calendar with your Calendar Boost account. Other users will also have this option if the admin has activated these integrations on the Features and Integrations page.
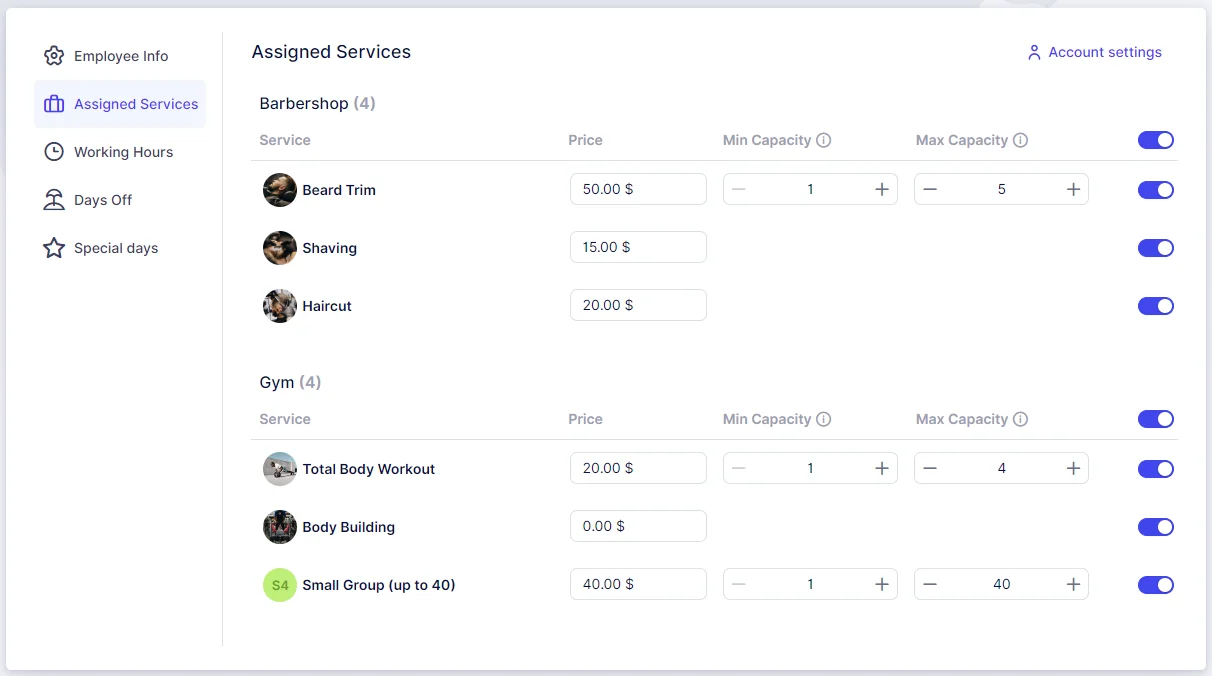
Assigned Services (available to admins or users with custom roles)
This section allows admins or users with custom roles to enable the services they are assigned to as employees.
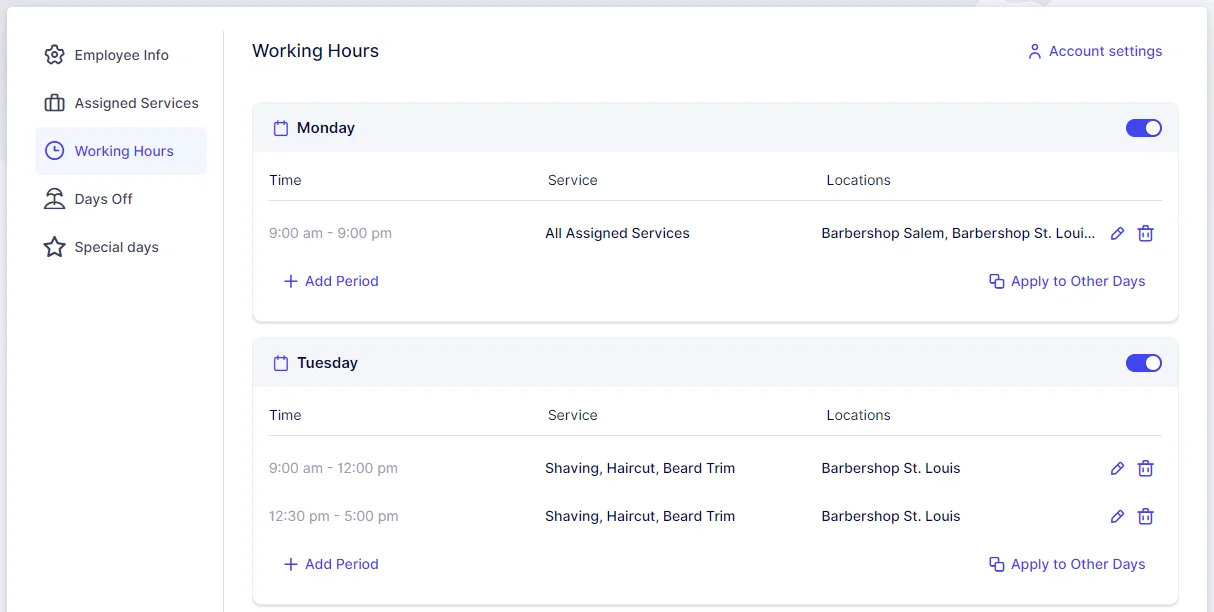
Here, the working hours for your account can be configured.
Days Off (available to admins or users with custom roles)
Configure non-working days for your account in this section.

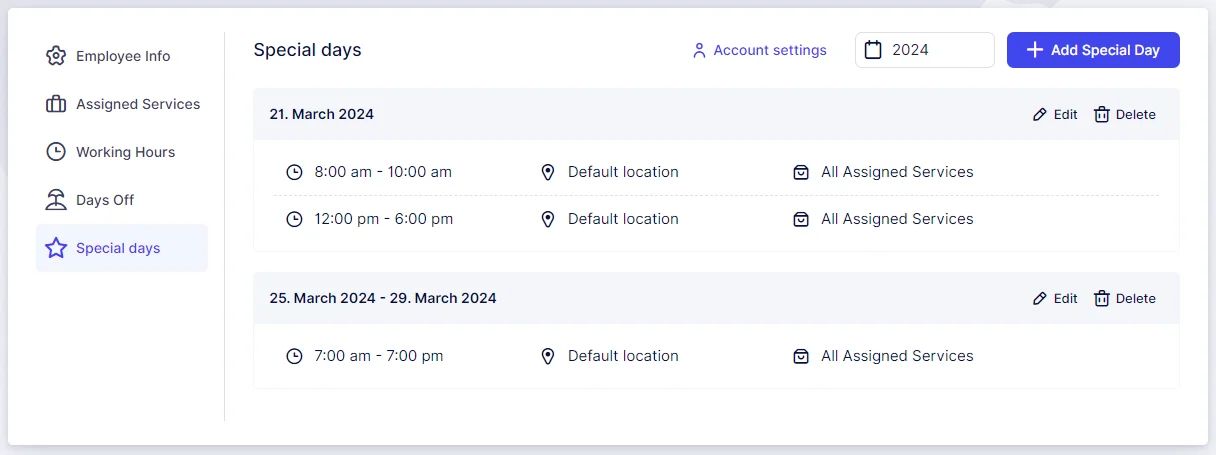
Special Days (available to admins or users with custom roles)
If enabled in Features & Integrations section, this option appears in Account Settings. Here, you can configure special working days that do not follow the standard Working Hours.
